Sunday, 20 May 2012

Im ready, here we go!

So finally I have my installation all ready and set for Monday...yikes !!
I found an new item to add to my installation because I thought the frame hanging up looked a bit too bare. Luckily, I had a shelf and two teddy ornaments that come with it and decided to hang  the shelf with the frame sitting on it.
Give a look below (' ',)

      The shelf with the frame and teddy ornaments


     My younger sisters baby box and mybaby blocks


This was the overall presentation! Although the wall were very dirty in a way it added to the installation (' ',)


Talk to you very soon bye bye...

Tuesday, 15 May 2012

Yessssssss.... this is it, I'm getting there !

Heeeeeeeeeeeeeeeeeeeeeeeeeey how you doing?

So big stress all this week, flying back and forth between getting work made, fired and having to model and distress for my sisters Beauty Therapy exams.
All I had to do was run down the street trying to make a tayto sandwich while power walking, stopping to buy nuerofin express 400mg even though your not allowed, taking one, then struggling to swallow it because it's like choking on a golf ball ... sorry this is very extreme ,but ever so true my friend

Anyways it all worked out in the end, I got my massages to distress and got my work completed. It was worth it!

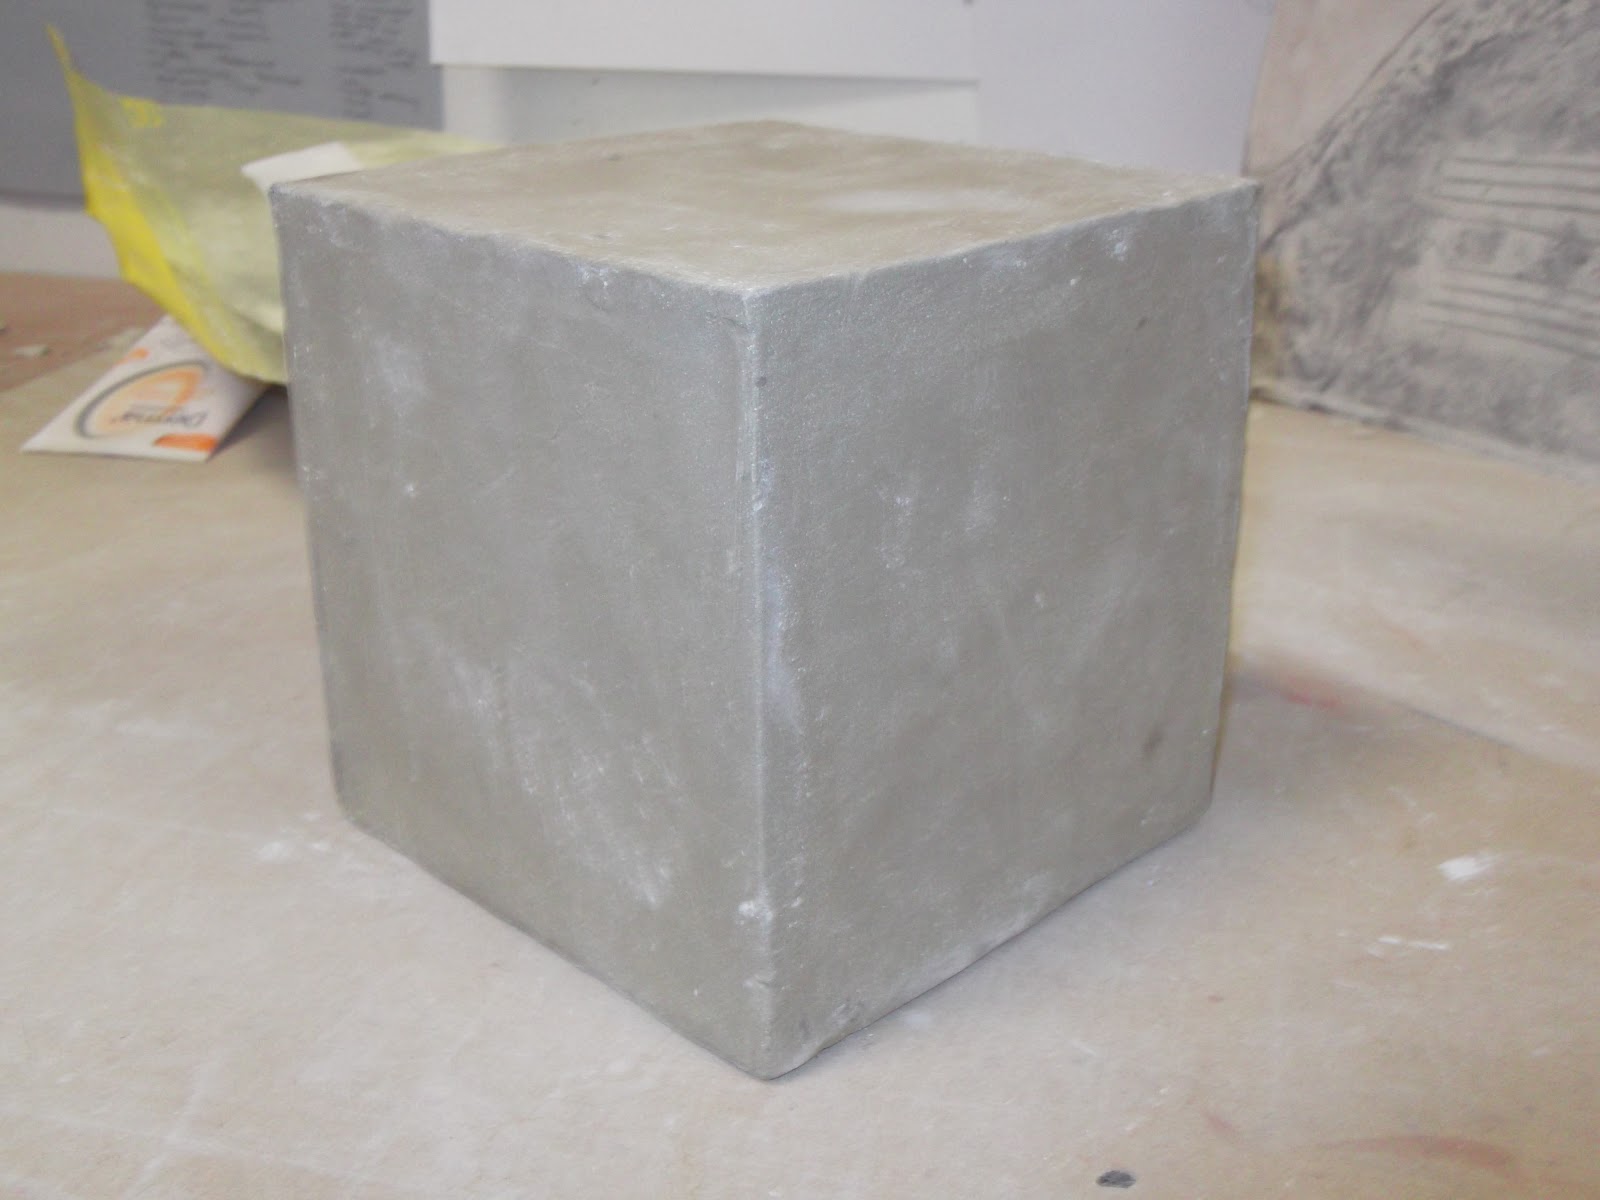
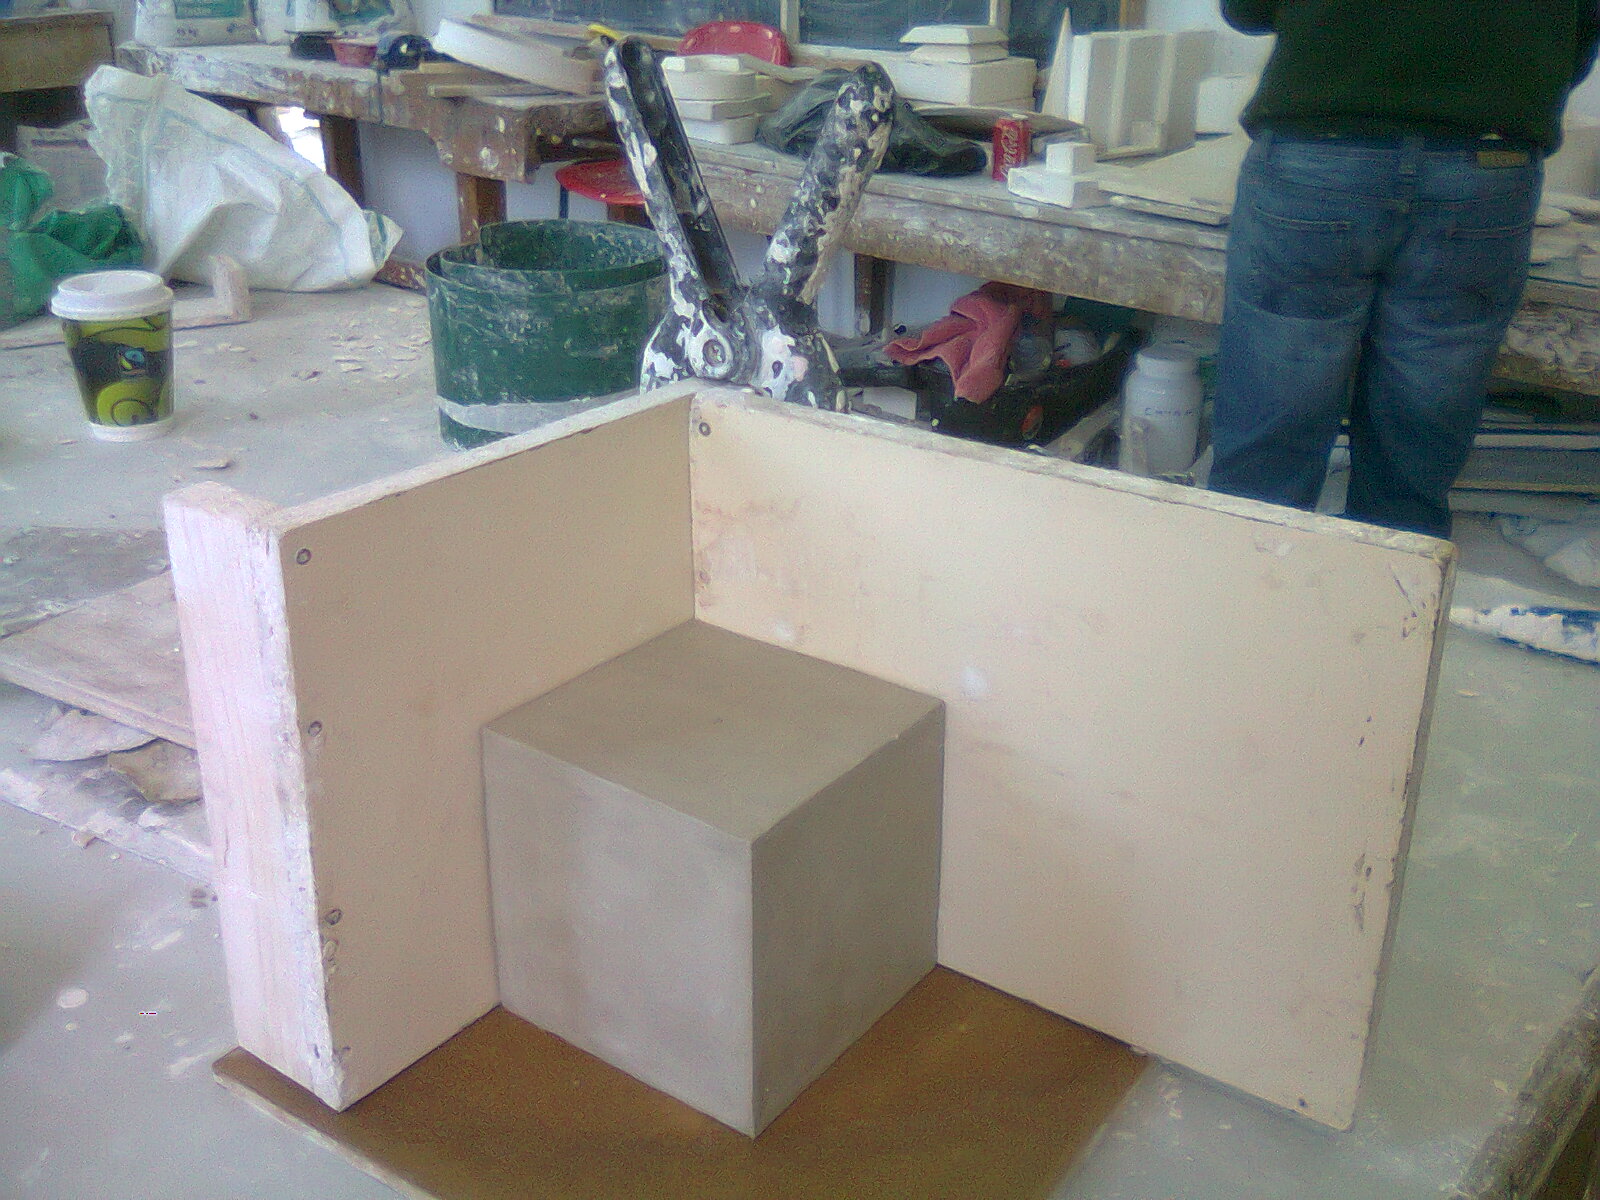
I began under glazing my cubes; I used certain colours, numbers and letters.

Colours: I uses a range of colours, purple, greens, blues, yellow, and the red was'nt great and tried to make one as close to red but its more of an orangey brownie red colour! The colours where based on the theme of the cube e.g Christmas cards, I used green, red, white and a creamy white as this are associated with Christmas


Numbers: There are 6 cubes; each number is ranging from 2 to 7. The number is reference to my age of that particular event e.g 2 is linked to my first big holiday to the Isle of Man


Letters: The letter is then reference to the event beginning with a certain letter e.g B is linked to the Easter cards I made when I was a child


 I marked out a small square to act as a boarder line around the cube on each side. I then soaked or wet the area I was going to glaze.


Glazing my cubes


 The under glaze act as water colours so a small drop of water must be added to them.


Some cubes using purple, yellow and green glaze for the different themes


These are images from childhood while playing about. These are reference for one cube, p- 4, playing aged 4 and two images


I also learned another new technique which allows the letters, numbers and borders to become raised slightly by using a product called shellac.

It is applied to the area, it is then left to dry.
Once it is dry, use a wet sponge and wet back the soft clay whcih means peeling back a layer of clay while leaving the parts with shellac on to become raised.


Youy can see from the side that the brown areas which have shellac on them are slight raised.

Another demo you guys!

Hellooooooo people how are ye all doing today? (' ',)

Yes, here is an update to what else we have been doing in the past two weeks.

Demo: Learning how to make paper porcelain clay.
  • This is a clay that is easy to work with, but it is also a delicate clay.
  • It is great if you are looking to make your work look extremely delicate and fragile. 
  • It is a very simple process all you need is a small bit of porcelain clay, tesco chaaaap toilet tissue and water.
  •  If you are cool and have a hand blender....it is very useful to blend the mixture leaving no lump.


                              Very light and delicate


                         Flexible, easy to use and suitable for folding


                                 Making various shapes


 Been cool and having a hand blender, great for blending... (' ',)

Wednesday, 9 May 2012

this wasn't easy....and did'nt turn out good....

                    Making the cast from the plaster mould


                             This liquid slip is used to fill up the plaster mould


MIX ! MIX ! MIX !MIX !

I had to mix up the bucket of liquid slip to ensure there wasn't any lumps or dry pieces.


We used wire to tie the two plaster moulds together to ensure that no slip will escape


I refilled the mould by adding more slip for each time the level of liquid had dropped


Kirean and I placed a tube of clay around the opening to create a whirl pool

It was left set for 10-15 mins
 Elaine and I tilted the mould over so that the slip would drip out


Eventually we left the mould upside down to ensure all the slip came out


Me waitng with the mould... unfortunetly we had attempted to make a cast three times, the first time there was too much slip in the cast so that it would have never dried, and second attempt... well it was better than the first, however the sides had collapsed.
Elaine mentioned to gently blow through a straw to push out the sides, but one side decided to burst. It was funny but I wasn't please with how it turned out.
Luckly I was making slab cubes in the meantime!!

Mono printing

Our tutor Kirean had given us a demonstration based on mono printing. It was a good use to learn new techniques that can be applied to clay. This can be used to trace out drawings or lettering that can then be transferred onto the clay.

I made a small slab which looks like small tiles joined together.I wanted to transfer some drawings onto the slab and engrave the tooth fairy letter onto it. This will then be placed into a photo frame!

He mixed under-glazed black which is in the form of a powder, water is added. It  is applied with a brush and is gently brushed onto a glass panel.


A heat gun was then used to dry the liquid on the panel so that it is then ready for transferring


Tracing paper is lightly positioned over the panel, tape is placed on each corner to keep the paper in place.

two wooden panels are placed on either side of the glass plate, another wood panel is placed acrossed them. This are used to prevent any smudges with the hand whilsr transferring.


A pencil, pen or even fingers can be used to design an image

The tracing paper is then removed from the plate

It then is place gently onto the clay

You can then leave it the way it is or shape it up into a mould for plates etc.


I followed each for these steps in order for my images to e transferred onto my tile slab.
Tracing paper with the transfered ink image

It was then placed on the clay

Although it doesnt look perfect, I prefer it that way, as children, their childhood and oyr memories are never perfect. Even with how my baby blocks turned out but hey... children are messy, loud and love to scibble on everything and my memories are not perfect. I think it makes a nice touch to my project even though they could be better!!

Tuesday, 8 May 2012

Badge design for the Rathkeale Scouting Group

Hey since posting about the work I do as a volunteered Beaver Leader, I was asked by all members of Rathkeale Scouting to design our local Badge. It was a long process as it had to be confirmed by the head of Scouting in Dublin. However,it was a great success but I wasn't to please how the badge maker had made it at first so I was busy sorting it how and making it right :)..... So here is the final badge! we also received lots of comments about it from other Scouting groups and since we had set up our face book page and web page to inform people about what we do!

 On St. Patricks day, Cub Leaders, Beaver Leaders with Cub Scouts and Beaver Scouts!

                                                     Our Rathkeale Scouting Badge

I had also explained in my other post about the meaning of the hand symbol and the Fleur De lis symbol within the hand. Our Rathkeale Scouting colours are green and red !


Here are our links for our web pages, so hope you can check it out:)

  • This is a link from when we spread the peacelight around Limerick :  
http://www.vsopublicationsltd.ie/2011/12/rathkeale-scout-group-spread-the-peace-light/


Wednesday, 2 May 2012

Glazing the narrative portrait

While working in between making the cast, I begin glazing my portrait from the narrative project with Christy Keeney!
Head after
biscuit firing


With the front and back of the piece I used under glazed black and washed it off so that it would settle into the crevices. I wet the overall object and then applied this to the hair, eyebrows,eyes and jumper


Back view

I was working with undergalze colours which act like watercolors. I used bright colours in the back round as it is a portrait of a young child.

Texture and detail in the jumper

I found that the black was a bit old looking for a child like piece, so I applies brown to give extra tones into the hair. I also apllied this into the creases on the facial areas, eyes and ears and gently brushed onto the skin and washed it off. I wanted very light tone colours on the face.
back view

Close up view of the face


Im still undecided weather or nto to keep it matt, although the gloss would also give it a child like look too.

My Baby Blocks and I

Since making cubes from wire and paper, I found it very beneficial to get a better knowledge of what my next steps will be. Firstly I need to make numerous blocks to help speed up time, to do that I must make a plaster cast of the size cube I want. I will begin by rolling slabs, then leaving them to stiffen in order for the slabs not to collapse and cut the slabs 5 by 5 and I need 6 of these to start with.


I shaped up the cube, smoothened it out and whilst still slighty soft I can now begin making the cast!


to be continued and images to follow later in the evening! (",)